Views: 0 Author: Site Editor Publish Time: 2026-05-01 Origin: Site


Turning raw logs into high-grade lumber is a high-stakes balancing act. You constantly weigh yield volume against board quality. Securing straight grain and structural integrity proves difficult without the right approach. Relying on manual splitting often destroys valuable material. Using inferior milling equipment guarantees dimensional inaccuracies and severely damages your returns. To achieve efficient milling, you must select the absolute best cutting patterns for your wood. You also need sawmill equipment capable of sustaining strict precision all day long.
This article provides a deeply technical breakdown of industry-standard milling strategies. We will walk you through step-by-step implementation realities on the ground. You will learn how to troubleshoot common cutting failures. Finally, we highlight strict evaluation criteria to help you select reliable machinery for your site.
Method Dictates Margin: Choosing between Live, Cant, Plain, or Grade sawing determines whether you prioritize daily production volume or premium board value.
Preparation Protects Equipment: Skipping debarking guarantees premature blade dulling due to embedded dirt and debris.
Tension is Everything: "Wavy cuts" are the primary failure point in milling, avoidable by maintaining strict blade tension and clearing sap buildup.
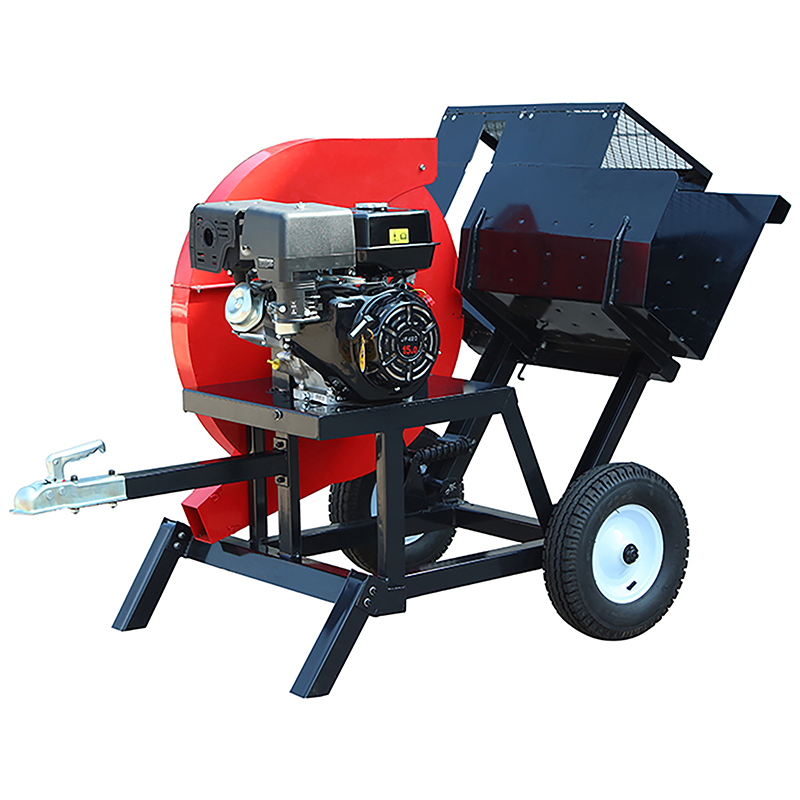
Equipment Scalability: Upgrading from manual hand-milling to a durable Log Saw shifts operations from physically prohibitive labor to scalable, high-yield production.
Before modern machinery became accessible, transforming a felled tree into usable boards required immense human energy. Understanding this historical baseline highlights exactly why modern equipment transforms your operational returns.
Traditional hand-riving relies entirely on splitting wood along its natural grain. Operators use metal wedges, wooden gluts, heavy froes, and chalk lines. You drive wedges into the end grain, forcing the wood fibers to separate.
Risk: This method is highly labor-intensive and physically exhausting. It remains incredibly prone to fiber-tearing. Wood species possessing intertwined grain, especially spruce or pine, resist splitting. The fibers cling together, forcing you to sever them manually using axes or chisels.
Limitation: Hand-milling is only viable for very short log sections. Attempting to split anything beyond 1 to 4 meters usually results in catastrophic failure. The split wanders off the center line, ruining the lumber.
Moving away from wedge-and-maul operations changes everything. Investing in a Log Saw or portable sawmill unlocks exact dimensional control. You drastically reduce the physical toll on your crew. Mechanical milling gives you the ability to process full-length logs producing highly predictable output. The blade cuts a true path regardless of how the internal grain twists. This mechanical advantage eliminates the unpredictable waste inherent in manual riving.
Every log presents a puzzle. You must decide whether you want maximum daily volume or maximum financial value per board. Industry experts classify cutting patterns into four distinct strategies.
Live sawing represents the simplest approach to milling.
Process: You slice straight through the log from top to bottom. You flip the log only once when you reach the midway point to stabilize the flat cut against the bed.
Evaluation: This ranks as the fastest method. It carries the lowest labor cost. However, it produces heavy, lower-grade boards. Every board features natural bark edges requiring secondary edging. These boards also carry a high risk of warping during the drying phase. Live sawing works best for low-quality timber where speed matters more than grade.
Cant sawing prioritizes rapid processing for standard commercial use.
Process: You cut the top round off. You rotate the log 180 degrees and cut the opposite side. You then rotate it 90 degrees and 180 degrees again. This sequence removes the rounded exterior, creating a massive central square called a "Cant."
Evaluation: This strategy maximizes daily production volume. You quickly turn round logs into stackable, manageable square units. It remains the industry standard for low-to-medium quality hardwood processing.
Plain sawing builds upon the Cant method to maximize usable lumber.
Process: The operation begins exactly like Cant sawing. Once you secure the squared center, you execute continued rotation. You slice boards off the outer edges, rotating the cant repeatedly to extract maximum usable boards.
Evaluation: This method serves as the optimal middle-ground. It provides standard, high-quality dimensional lumber. The resulting grain patterns perform well in general construction and furniture making.
Grade sawing requires intense operator focus and constant log evaluation.
Process: You perform frequent rotation. Operators often execute up to 5 flips per log. After opening a face, you evaluate the exposed grain. If you spot a defect, you rotate the log to a clearer face. You isolate the highest-quality grain, leaving defects trapped in the center core.
Evaluation: This method delivers the slowest production rate. However, it yields the highest financial return per log. It remains ideal for premium hardwoods destined for fine cabinetry.
Beyond rotation, you must consider the log's natural taper. Trees grow wider at the base. You can align your cut parallel to the bark, known as Full-taper sawing. Alternatively, you can align parallel to the center pith, known as Split-taper sawing. Full-taper sawing yields straighter grain along the outer premium boards. It directly impacts grain straightness and total usable yield, pushing the taper waste into the lower-value center core.
Strategy | Speed / Labor | Board Quality | Best Application |
|---|---|---|---|
Live Sawing | Very Fast / Low Labor | Lower grade, high warp risk | Low-quality timber, rustic slabs |
Cant Sawing | Fast / Medium Labor | Standard square timber | High-volume commercial processing |
Plain Sawing | Moderate / Medium Labor | High-quality dimensional | General construction lumber |
Grade Sawing | Slow / High Labor | Premium, defect-free | High-value hardwoods |
Executing a flawless cut requires strict adherence to operational protocols. Moving from standing timber to stacked lumber involves three distinct phases.
Preparation dictates the success of your milling day. Never rush the setup phase.
Equipment Checklist: Verify blade tracking before the engine starts. Check your tension calibration. Ensure all fluid levels, including blade lubrication and engine oil, read full.
The Debarking Imperative: Bark acts like a sponge. It retains moisture causing premature rot. It harbors burrowing insects. Most importantly, bark traps dirt, sand, and stones from the logging site. Cutting through dirty bark rapidly destroys blade sharpness. Always strip the bark before the log hits the sawmill bed.
Once the log rests on the rails, securing it properly prevents equipment destruction.
Clearance Verification: Log side-supports hold the timber in place. You must lock them strictly below the intended cut line. Failure to drop these supports results in catastrophic metal-on-blade impacts, shattering the blade instantly.
Log Scale Usage: Utilize the machine's integrated log scale for exact thickness targeting. When the blade approaches dense knots, anticipate blade jump. Reduce your feed speed manually to let the teeth clear the hardened fiber without deflecting.
Milling the board only completes half the job. Proper handling prevents the fresh lumber from destroying itself.
Shrinkage Calculation: Green wood holds massive amounts of water. It shrinks as it dries. Always add a 1/2-inch allowance to both width and thickness cuts. If you need a true 2-inch board, cut it at 2.5 inches.
Stacking Protocol: Never stack green boards flat against each other. Use uniform wood spacers, called stickers, between boards to promote airflow. Strap the entire stack tightly to prevent warping. Paint the board ends using thick latex to eliminate rapid moisture loss, preventing air-drying cracks.
Even experienced operators encounter bad cuts. Boards occasionally emerge displaying fluctuating thickness or undulating surfaces. The industry calls these "wavy cuts." Recognizing the root cause saves your remaining timber.
When the blade dives or climbs through the wood, three main culprits usually exist:
Insufficient Blade Tension: The blade deflects when hitting denser grain. Without immense tension, the steel band acts like a wet noodle, following the path of least resistance around hard knots.
Sap and Pitch Buildup: Pine and fir exude heavy sap. This pitch coats the blade. Friction increases dramatically, causing the blade to heat up. Hot steel expands. The expanded blade loses its tension and wanders erratically through the cut.
Dull Teeth: A sharp tooth slices. A dull tooth pushes. When teeth lose their edge, the feed pressure forces the blade to bow backward and sideways, ruining the dimensional accuracy.
Fixing wavy cuts requires strict mechanical hygiene. Execute regular tension checks using a tension gauge. Deliver consistent blade lubrication using a drip system mixed with a mild solvent. Finally, establish a strict blade-swapping schedule. Do not wait for the blade to fail. Swap it after two hours of continuous cutting to maintain peak sharpness.
Transitioning to mechanical processing demands reliable equipment. Evaluating a durable Log Saw involves looking past the paint job and inspecting the structural engineering.
The kerf represents the width of the cut made by the blade. Look for thin-kerf blade compatibility. Traditional circular mills remove up to a quarter-inch of wood per pass. A thinner kerf band removes minimal material. This directly reduces sawdust waste. Ultimately, thin-kerf setups yield more boards per log, maximizing your lumber extraction.
Milling generates violent vibration. A reliable machine must feature heavy-duty blade guides. It requires robust tensioning mechanisms, often hydraulic or heavy spring-loaded, to hold calibration. If the tension backs off during sustained industrial loads, your cut quality plummets.
Evaluate the rigidity of the track system. Heavy timber easily twists cheap, lightweight steel frames. Ensure the track bed uses thick, laser-cut steel capable of handling multi-ton logs. Furthermore, check the accessory ecosystem. The manufacturer should offer robust log handling accessories. Ramps, manual winches, and cant hooks let you safely manage heavy timber without warping the cutting bed or injuring your spine.
Successfully transitioning raw logs into premium lumber requires strategic decision-making. You must choose the right cutting pattern—whether Live sawing for speed or Grade sawing for value—based on your timber quality. Strict adherence to operational best practices makes or breaks your output. Debarking your logs, maintaining strict blade tension, and calculating precise drying allowances guarantee high-quality results.
Your next steps involve a thorough assessment of your operational goals. Evaluate your local log quality and your required daily volume. Use these metrics to determine whether a basic portable unit suffices, or if stepping up to a commercial-grade, durable machine better aligns with your production targets. Proper equipment paired with educated milling techniques ensures every log reaches its maximum structural and financial potential.
A: Yes, unless cutting immediately after felling. Dirt and debris embedded in bark act as an abrasive that will quickly ruin your sawmill blades.
A: The industry standard is to leave an extra 1/2-inch in both thickness and width to account for shrinkage during the 2–12 month drying process.
A: A standard retail 2x4 is cut at roughly 2x4 green, but after kiln-drying and final surface planing, the finished dimensions are reduced to 1.5 x 3.5 inches.


